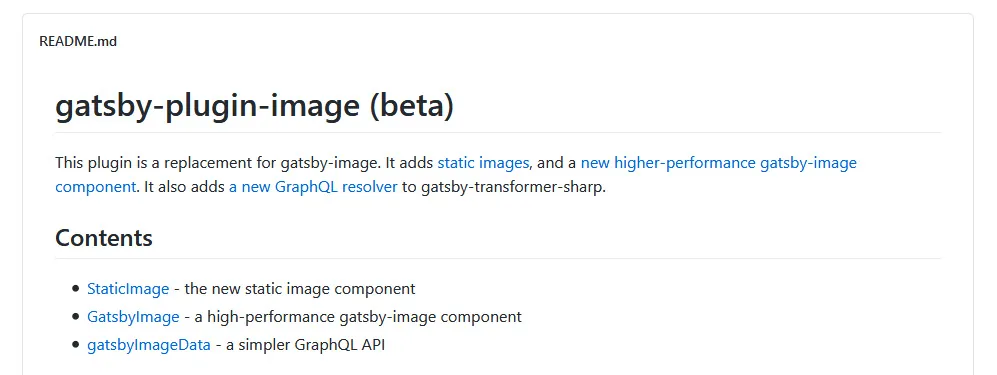
次世代の gatsby-image として開発が進んでいる「gatsby-plugin-image」。beta版の段階ではありますが、簡単に導入できるようになりました。これまでの gatsby-image との共存も可能です。

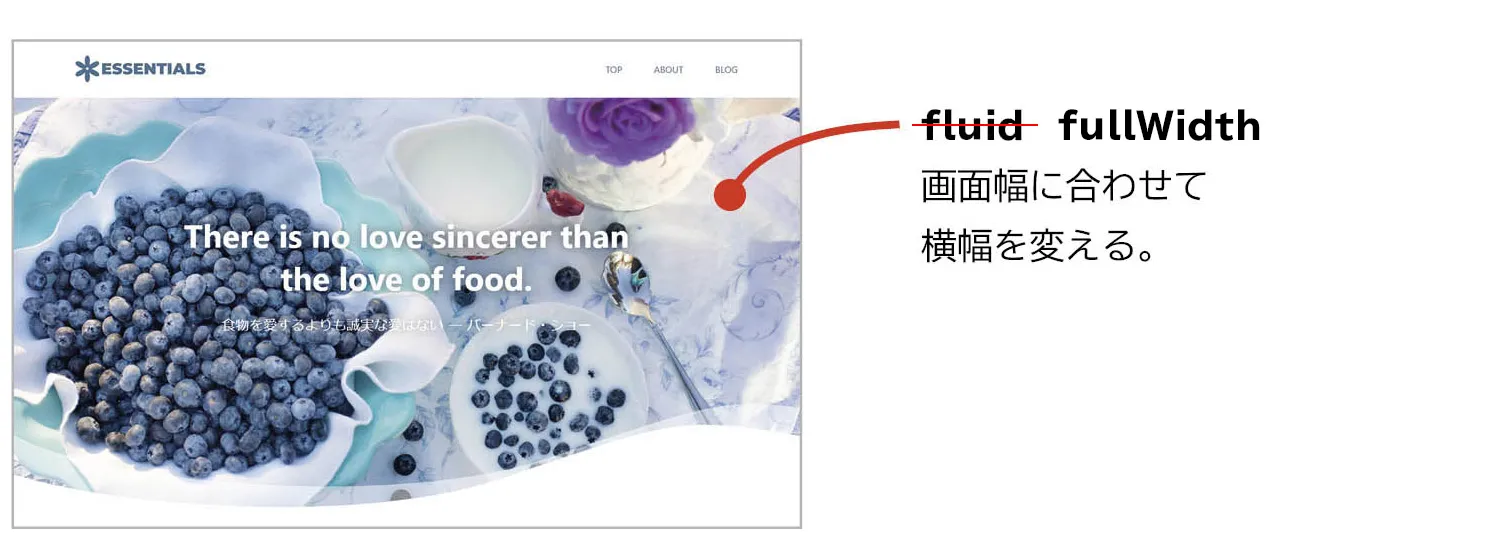
※gatsby@2.31.0 に合わせて、layoutの値を「fluid」から「fullWidth」に修正しました。
https://www.gatsbyjs.com/docs/reference/release-notes/v2.31/#important-gatsby-plugin-image-updates
インストール
gatsby のバージョンが2.24.78以上であることを確認した上で、
yarn add gatsby-plugin-image gatsby-plugin-sharp gatsby-transformer-sharpor
npm install gatsby-plugin-image gatsby-plugin-sharp gatsby-transformer-sharpでインストールします。あとは、
- gatsby-plugin-image
- gatsby-plugin-sharp
- gatsby-transformer-sharp
をプラグインとして登録して完了です。StaticImage だけを使う場合は、gatsby-transformer-sharp は必要ありません。
module.exports = { plugins: [ `gatsby-plugin-image`, `gatsby-plugin-sharp`, `gatsby-transformer-sharp` ],}GatsbyImage
これまでの gatsby-image に置き換わるのが、GatsbyImage です。
import { GatsbyImage, getImage } from "gatsby-plugin-image"といった形でインポートして使うことになります。
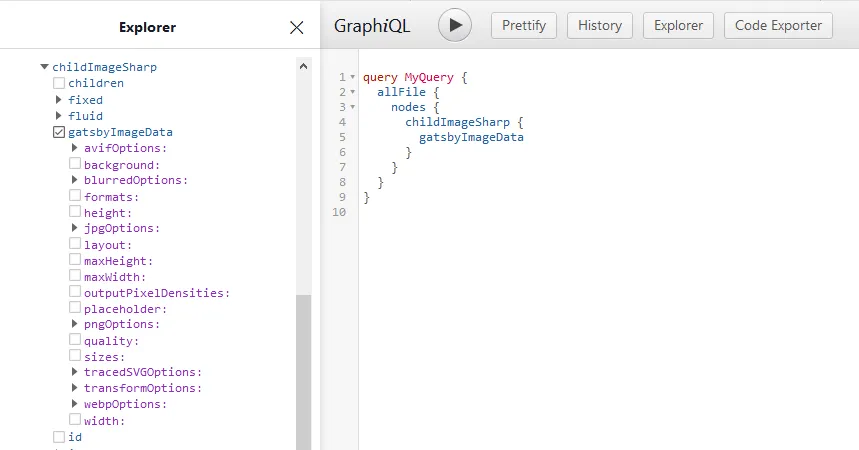
これまでは、GraphQL の fluid や fixed 以下の複数のフィールドを必要に応じて取得する必要がありましたが、GatsbyImage では gatsbyImageData を取得するだけで、設定に応じて処理が行われます。

また、fluid fullWidth や fixed に加えて、constrained という設定が layout に追加されました。各設定の使い分けに関しては、次のようにまとめられています。
ask yourself: "do I know what the exact size of this image will be?" If yes, it's "fixed". If no and its width and/or height need to vary depending on the size of the screen, then it's "fluid". If you want it to shrink to fit on smaller screens, but not to expand larger than a maximum, then use "constrained"
「画像を固定サイズで表示するか?」を考えて、
https://github.com/gatsbyjs/gatsby/tree/master/packages/gatsby-plugin-image#three-types-of-responsive-images
"yes"なら「fixed」。
"no"で横幅や高さを画面サイズに合わせて変える必要があるなら「fluidfullWidth」。
さらに、画面サイズに合わせて変える必要があるけど、最大値より大きくしたくない場合は「constrained」。
オプションなどの見直しも行われており、スタイルシートまわりも GatsbyImage の中で完結できるようになっています。
また、これまでに作成したプロジェクトに対しては、移行のための codemod が用意されています。
npx gatsby-codemods gatsby-plugin-image <path>というコマンドで、GatsbyImage への変更処理をしてくれます。
ただし、source plugin が GatsbyImage に対応し、gatsbyImageData のフィールドを用意してくれなければなりません。
gatsby-source-contentful なども、現時点では gatsbyImageData のフィールドを用意してくれていませんので、本格的に利用するまでにはもう少し時間がかかりそうです。
StaticImage
GatsbyImage が十分に使えない状況ではありますが、すぐにでも gatsby-plugin-image を導入したくなる理由が、新しく用意された StaticImage の存在です。
これまで面倒だったローカルにある画像を、GraphQLを通すことなく非常にシンプルに扱えるようになります。
import { StaticImage } from "gatsby-plugin-image"といった形で導入します。たとえば、書籍『Webサイト高速化のための静的サイトジェネレーター活用入門』のサンプルの場合には、以下のように書き換えることができます。
旧
<Img fluid={data.about.childImageSharp.fluid} alt="ブルーベリー&ヨーグルト"/>新
<StaticImage layout="fullWidth" alt="ブルーベリー&ヨーグルト" src="../images/about.jpg"/>もちろん、GraphQL のクエリは必要なくなり、ファイルは相対パスで指定します。その他のオプションは GatsbyImage と同様です。
gatsby develop のプレビューでもどんどん画像を表示してくれますので、なかなか快適です。
ただし、ビルドの際に画像の解析が必要なため、StaticImage には以下の制限があります。
Are there restrictions to how this is used?
https://github.com/gatsbyjs/gatsby/tree/master/packages/gatsby-plugin-image#are-there-restrictions-to-how-this-is-used
このあたりを踏まえて、書籍『Webサイト高速化のための静的サイトジェネレーター活用入門』のトップページの画像を修正してみると以下のようになります。
layout の設定は、ヒーローイメージならこれまで通り「fluid fullWidth」、最大幅を320pxにしたい食べ物の画像なら「constrained」が適しています。
ヒーローイメージ(fluid fullWidth)

旧
<Img fluid={data.hero.childImageSharp.fluid} alt="" style={{ height: "100%" }}/>新
<StaticImage layout="fullWidth" alt="" style={{ height: "100%" }} src="../images/hero.jpg"/>食べ物の画像(constrained)

旧
<figure> <Img fluid={data.fruit.childImageSharp.fluid} alt="" /></figure>.detail figure { max-width: 320px; margin: auto;}新
<figure> <StaticImage layout="constrained" alt="" src="../images/fruit.jpg" maxWidth={320} /></figure>.detail figure { margin: auto;}beta版ではありますが、StaticImage から使い始めてもいいかなと思える完成度となっています。また、開発バージョンではすでに AVIF への対応も済んでおり、最終的にはかなり突き抜けたものになりそうです。